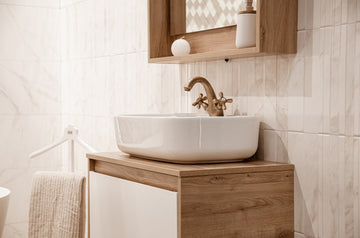


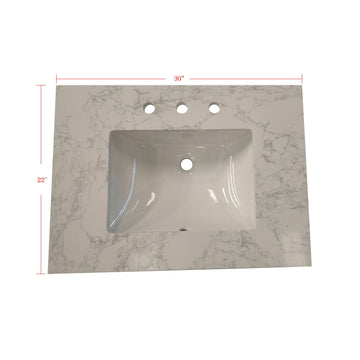
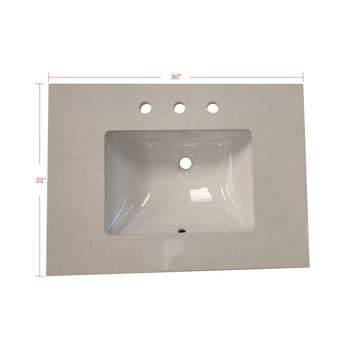
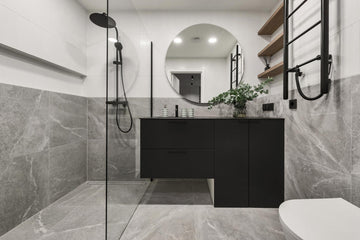
The backsplash is the tile that’s behind the faucet. They are a neat solution to prevent your wall from getting moisture. You’ll mostly see them installed behind the sink of a kitchen faucet, but they are prominent within bathroom vanities as well.
Backsplashes can run just a few inches high or stretch all the way to the bottom of the mirror or upper cabinets. Some people skip them altogether, but that choice depends on the style of the space and the material of the wall. In high-use bathrooms or homes with kids, even a short backsplash can make a noticeable difference in cleanliness and maintenance.
This article focuses specifically on bathroom vanity backsplashes. Learn what they’re for, what materials work best, and how to install one that fits both your layout and your budget.
What does a backsplash do?
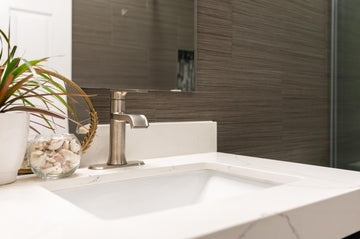
It is a protective layer that helps reduce water residues splashed against the wall. Some wall materials are more prone to mold and mildew growth, and it’s inevitable for water to splash onto the wall when you rinse.
A backsplash acts as a barrier between the vanity and the wall, catching water and other messes before they cause long-term damage. It also makes cleaning easier. Instead of scrubbing painted drywall or patching bubbling surfaces, you’re wiping down tile, stone, or another durable surface that’s made to handle daily use.
In addition to its protective role, a backsplash also helps visually anchor the vanity area. It creates a transition between countertop and wall, defines the space, and can tie in color or texture from other parts of the bathroom. Especially when made from materials that complement the flooring or shower tile.
In short, it’s a minor feature that quietly does a lot, both in form and in function.
Do you need a backsplash?

Whether or not you need a backsplash depends on your bathroom’s layout, usage, and the materials surrounding your vanity. If your sink is close to the wall and you tend to get splashes on it often, a backsplash is more of a necessity than a design choice. It helps prevent moisture buildup, paint peeling, and staining, especially in high-traffic or shared bathrooms.
However, in powder rooms or guest baths where the sink sees less use, some people choose to skip the backsplash altogether for a cleaner, more minimal look. That choice can work if the wall is finished with water-resistant materials like tile, or if the faucet and sink are designed in a way that minimizes splashing.
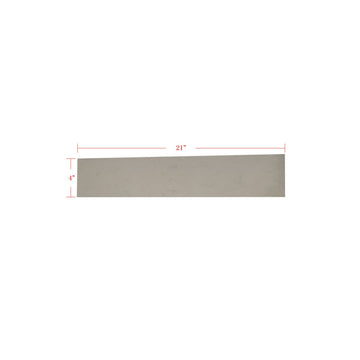
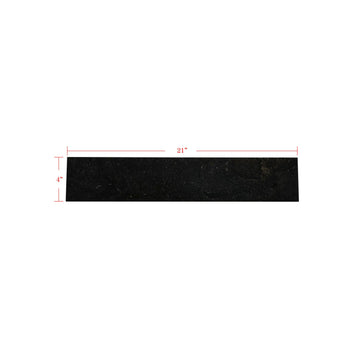
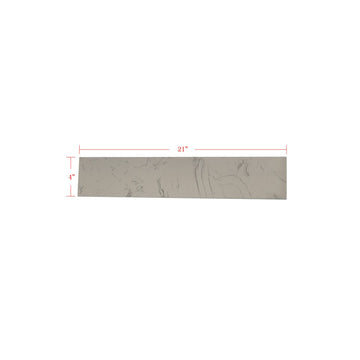
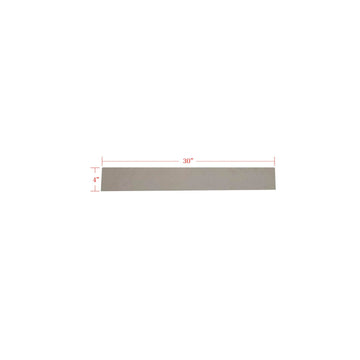
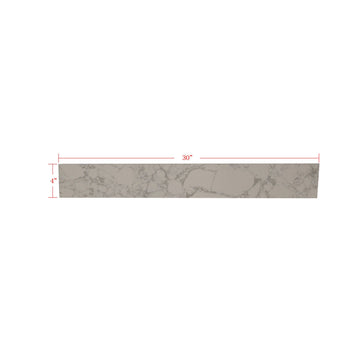
And no, backsplashes aren’t out of style. But the way people approach them has evolved. Instead of the standard 4-inch backsplash that matches the vanity top, many homeowners now go for full-height tile backsplashes that reach up to the mirror or even the ceiling. Others prefer thin, low-profile designs that blend more seamlessly with the wall or continue from other tiled areas.
In modern bathrooms, a backsplash is less about following a rule and more about choosing what works for your space.
Different materials of backsplash
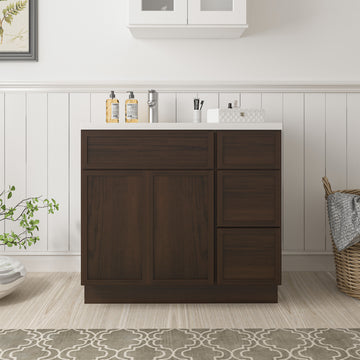
Most bathroom backsplashes are made with the same material as the vanity. So it’s good to look out for vanity sets that come with their own backsplash. However, if you plan to add a backsplash to your existing vanity, different materials do make a difference in terms of water resistance and aesthetic.
Mosaic
Mosaic backsplashes use small tiles. Often glass, ceramic, or stone, arranged in repeating patterns or mixed textures. They’re usually sold in sheets, which makes installation easier than placing each tile individually. Mosaics offer a lot of design flexibility: you can go bold with color, soft with neutrals, or mix materials for contrast. They're great for adding texture or a focal point behind the vanity, but can be slightly harder to clean due to the numerous grout lines.
Glass
Glass backsplashes create a clean, modern look with a bit of shine. They’re highly water-resistant and easy to wipe down, which makes them especially appealing for small bathrooms or contemporary spaces. Glass can come in solid colors or as translucent pieces layered over subtle patterns. It reflects light well, making a bathroom feel brighter. The main drawback? It can chip if struck, and installation often requires a bit more precision to avoid adhesive showing through.
Ceramic
A classic choice, ceramic tile offers durability, moisture resistance, and a wide range of styles. From plain subway tiles to decorative patterns. It’s affordable and easy to maintain, which is why it remains one of the most popular backsplash materials. With endless finishes (matte, gloss, textured) and color options, ceramic works just as well in traditional bathrooms as it does in modern ones. Bonus: it pairs well with nearly any countertop or wall paint.
Porcelain
Porcelain is a type of ceramic, but it’s denser, more durable, and often more water-resistant. It’s great for bathrooms that get heavy daily use. Many porcelain tiles mimic natural stone or wood grain, giving you the look of premium materials without the upkeep. It also resists staining better than basic ceramic and holds up well to cleaning products.
Stone
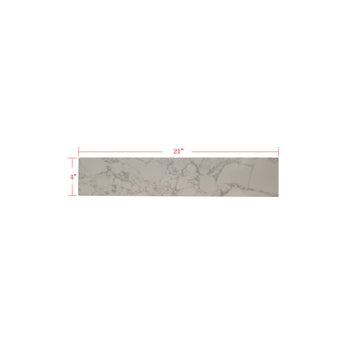
Natural stone backsplashes offer a high-end, organic look with unique veining and texture. Marble brings a sense of luxury, slate gives a rustic feel, and travertine can warm up a space with earth tones. These materials are more porous than tile, so they require sealing to prevent staining and moisture damage. They're also heavier, more expensive, and need more care, but they can completely change the tone of a bathroom if used well.
Peel-and-stick
Not a specific material per se, but a type of backsplash worth mentioning in this article. Peel-and-stick backsplashes are very common on the market, and their biggest selling point is the ease of installation. If you’re renting, this is a quick fix for a small problem.
Peel-and-stick backsplashes can be made from a variety of materials, including vinyl, glass, metal, and more. While they’re not as durable as tile, they are water-resistant enough for light-use bathrooms and can usually be removed fairly easily without damaging the wall.
Tiling a bathroom backsplash

Installing a bathroom backsplash is a manageable DIY project if you have the right materials and a bit of patience. The process involves careful prep, precise tile placement, and clean finishing. Here’s a step-by-step guide for tiling a standard backsplash behind your bathroom vanity:
Prepare the wall surface
Start by cleaning the wall where you’ll install the backsplash. Remove any dust, soap residue, or loose paint. The surface should be smooth, dry, and free of grease. If the wall is uneven or damaged, patch it with spackle and sand it flat.
If you’re working with drywall, it’s recommended to use a tile backer board or a layer of primer to help the adhesive bond properly. Especially if you’re using heavy tiles or natural stone.
Plan the layout
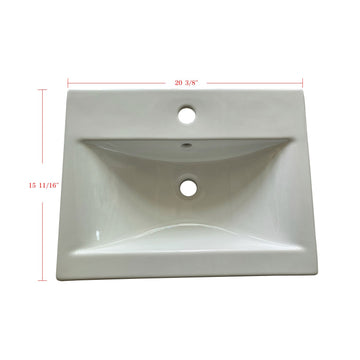
Measure the width and height of the area you want to cover. Dry-fit the tiles or sheets of tile on a table or countertop to test how they’ll look. This is the time to decide if you want a centered pattern, a full tile on each end, or cuts to fill edges.
Use a level and pencil to draw a reference line across the wall to guide your first row. This helps prevent uneven installation, especially if the countertop isn’t perfectly level.
Apply adhesive
Use a notched trowel to apply tile adhesive or thinset mortar in small sections, starting from the bottom center. Only spread enough for a few tiles at a time to prevent it from drying out before you can work with it. Press each tile firmly into place, using spacers between them to keep consistent grout lines.
For mosaic or peel-and-stick tiles, follow the product-specific instructions: some come with mesh backing or require different adhesives.
Make tile cuts
Use a tile cutter or wet saw to trim tiles at the edges or around outlets. Always double-check your measurements before cutting. For tricky corners or curves, tile nippers or a rotary tool can help shape the pieces more precisely.
Let the adhesive cure
Allow the adhesive to set for at least 24 hours (or follow the product instructions). Avoid touching or bumping the tiles during this time. If any adhesive has squeezed through the joints, remove it with a damp cloth before it hardens.
Grout the tiles
Once everything is firmly in place, mix your grout and apply it with a rubber float. Work it into the joints at a 45-degree angle. After about 10–15 minutes, wipe off the excess with a damp sponge. Be gentle to avoid pulling grout out of the lines.
Let the grout cure as directed, usually 24–72 hours. Then, buff off any haze with a dry cloth.
Seal the grout
Not all grout requires sealing, but if you’re using unsealed grout or natural stone tiles, applying a grout sealer helps protect against stains and moisture. Use a small applicator brush or spray, and follow the manufacturer’s instructions for dry time.
Caulk the edges
Apply a thin bead of silicone caulk where the backsplash meets the countertop and sidewalls. This keeps water from seeping behind the tiles and adds a clean, finished edge.
A nice addition to the bathroom
A bathroom backsplash plays a minor role and addresses a very specific problem. They’re more of a necessity in the kitchen, where grease is harder to clean than simple water residue. As for bathroom backsplashes, they’re not exactly essential—but they’re definitely nice to have.
And while the installation process takes some planning, it’s a manageable update that brings both form and function to your bathroom. If you're already rethinking your vanity area, don’t skip the backsplash. It’s one of those details that pays off every single day.