


A leaking faucet wastes water and slowly drives up your utility bill. If you’ve noticed a constant drip or a loose handle, it usually means something inside the faucet has worn out. Fixing it can be simple if you know what to look for.
This article explains how to identify the type of faucet, how to find the problem, and how to fix it step by step. It also covers when it’s more practical to replace the faucet entirely. We’ll give actionable tips to help you fix a leaking faucet in your own home.
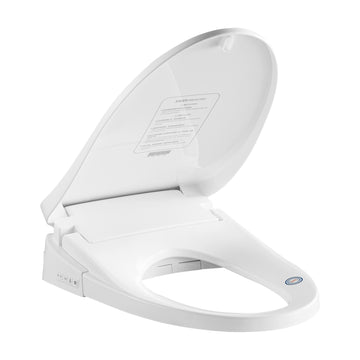
Identify the type of faucet
It’s natural to know what type of leaking faucet you are dealing with before proceeding to fix anything. Not all faucets are built the same, with each uses a different internal mechanism to control water flow.
There are four main types of faucets that differs when if you are tying to fix the leaking problem:
-
Compression faucets have two separate handles for hot and cold water. You’ll feel resistance when you turn the handles because they use washers that tighten to stop water flow. These are the most likely to develop leaks over time.
-
Ball faucets are usually found in kitchens and have a single handle that moves in multiple directions. Inside, they contain a ball mechanism that controls water flow and temperature. These have many small parts and can be trickier to repair.
-
Cartridge faucets can have either one or two handles. They use a smooth-moving cartridge that controls water flow. These are common in bathrooms and tend to be more reliable than compression or ball types.
-
Ceramic disc faucets are newer and designed to last longer. They also have a single handle but use a pair of ceramic discs inside. They’re less prone to leaks, but if they do leak, the replacement parts may cost a bit more.
If you’re unsure which type you have, turn off the water and remove the handle to check the inner components. The shape and structure will usually give it away. Knowing the faucet type will help you find the right parts and follow the correct repair steps.
Check for the cause
Once you know the type of faucet, the next step is figuring out which part is causing the leak. Faucet leaks don’t always come from the same place, and the cause varies depending on the design and how long it’s been in use.

Start by observing where the leak shows up:
-
Leak from the spout: This is the most common. Water continues to drip after you’ve turned the faucet off. It’s usually caused by worn-out washers, seals, or cartridges. In compression faucets, the rubber washer at the valve seat is often the issue. In disc or cartridge faucets, the cartridge or seal may need to be replaced.
-
Leak from the base of the handle: If water collects around the handle, it could be due to a damaged O-ring or a loose packing nut. This kind of leak is especially common in ball or cartridge faucets.
-
Leak under the sink: When water drips below the counter, it may not be the faucet itself but the supply line connections. Check the water lines and the mounting hardware to ensure nothing is loose or corroded.
-
Spraying or splashing from the spout base: This can happen if mineral buildup or damage around the aerator or spout seal has occurred. Unscrew the aerator and check for debris or deterioration.
Knowing exactly where the leak is helps narrow down what needs to be fixed or replaced. Most faucet leaks trace back to worn-out internal parts like washers, O-rings, or cartridges. But they can also be the result of poor installation, age, or hard water damage. Identifying the location early saves you time and keeps you from tearing apart parts unnecessarily.
Step-by-step guide to fix a leaking faucet
Fixing a leaking faucet doesn’t require special plumbing skills, just a bit of patience and the right tools. Here’s how to go about it:
Step 1: Turn off the water supply
Before doing anything, locate the shutoff valves under the sink and turn them off. If your faucet doesn’t have its own shutoff, turn off the main water supply to the house. Then, open the faucet to relieve pressure and drain any remaining water in the line.
Tools you need: Adjustable wrench, flathead screwdriver, towel or small bucket (to catch water).
Step 2: Plug the drain
Use a sink plug or a rag to block the drain. This prevents screws, washers, or small parts from falling down while you work. It’s a simple precaution that can save you from unnecessary frustration.
Step 3: Remove the faucet handle
Depending on your faucet design, you may need a screwdriver or Allen wrench to loosen the set screw holding the handle in place. Once removed, gently wiggle the handle free. You should now see the inner workings of the faucet.
Note: If the handle feels stuck, apply a little vinegar to break up any mineral buildup before trying again.
Step 4: Inspect and remove the cartridge or valve assembly
This step varies by faucet type:
-
Compression faucets: Remove the packing nut to expose the valve stem. Unscrew and remove it.
-
Cartridge faucets: Pull the cartridge out with pliers or a cartridge removal tool.
-
Ball faucets: Use a special ball faucet repair kit, as these have multiple components.
-
Ceramic disc faucets: Lift the ceramic disc cartridge out carefully.
Inspect the part closely. Look for worn-out washers, cracked O-rings, or visible mineral deposits. These are usually the root cause of leaks.
Step 5: Replace worn parts
Take the damaged parts to a hardware store to find exact replacements. Most faucet parts aren’t universal, so it’s best to match them as closely as possible by brand and model. Replace any rubber washers, O-rings, or cartridges that show wear or cracking.
Tip: Even if only one washer is damaged, replacing both the hot and cold side parts ensures balance and prevents future leaks.
Step 6: Clean all components
Use a soft cloth or old toothbrush to clean the inside of the faucet body and spout. Remove mineral buildup, grime, or sediment. You can soak stubborn parts in vinegar to loosen hardened deposits.
Step 7: Reassemble the faucet
Once everything is cleaned and replaced, put the faucet back together in reverse order. Make sure everything fits snugly but don’t overtighten that could damage seals or threads.
Step 8: Turn the water back on and test
Open the shutoff valves slowly. Turn on the faucet and check for leaks. If the drip is gone and there’s no water pooling around the base, you’ve successfully repaired your faucet.
If it’s still leaking, double-check that all washers and cartridges are installed correctly and that the parts match your faucet model. Some leaks might also stem from cracks in the faucet body itself, in which case replacement might be the better option.
This process takes less than an hour in most cases and can save you from the costs of a plumber visit or water damage over time.
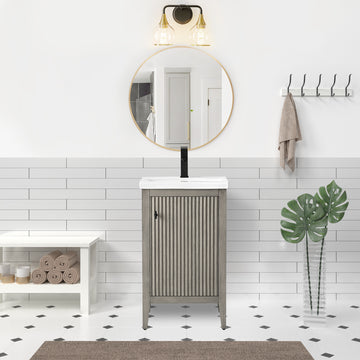
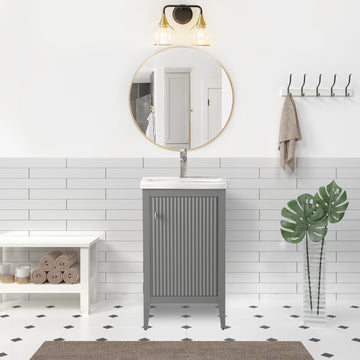
When should you simply change the faucet instead of fixing it?

There are times when fixing a leaking faucet isn’t worth the trouble. If the faucet is over a decade old and showing signs of corrosion, mineral buildup, or general wear, replacement may be the more practical option. Older fixtures often suffer from internal damage that isn’t immediately visible. Once you open them up, you may find rusted parts, worn threads, or cracked housings that can’t be reliably repaired. In those cases, continuing to patch leaks becomes a short-term fix for a long-term problem.
Another sign it’s time to replace is when repairs aren’t working. If you’ve already changed washers, O-rings, and cartridges but the leak persists, the issue likely lies deeper in the structure. Faucets with hairline cracks or warped bodies may never seal properly again, no matter how many replacement parts you use. It’s also common to run into models that are outdated or obscure, with replacement components that are difficult to find or no longer available. If tracking down a specific part becomes more time-consuming or costly than buying a new unit, replacement is simply more efficient.
The decision also comes down to aesthetics and overall function. If you’re remodeling or updating your bathroom, a leaking faucet can serve as the nudge to upgrade. Similarly, if the finish is chipped, discolored, or flaking, even a working faucet can make the space look tired. Replacing it not only solves the leak but also refreshes the look of your sink or tub area. And when the total cost of repair begins to rival or exceed the price of a new faucet, starting fresh naturally makes more sense.
FAQs
What type of faucet is most prone to leaking?
Compression faucets are the most likely to develop leaks over time. They rely on rubber washers to seal the flow of water, and those washers degrade with repeated use. Once worn, they can’t create a tight seal, leading to slow or constant drips. Compared to newer valve-based models like ceramic disc or cartridge faucets, compression faucets generally require more maintenance.
Which type of faucet lasts the longest with the least maintenance?
Ceramic disc faucets are considered the most durable and low-maintenance option. Instead of washers or springs, they use two hard ceramic discs that glide against each other to control water flow. This design is less susceptible to wear and more resistant to mineral buildup. Cartridge faucets also offer a balance of longevity and ease of repair, making both popular choices for modern bathrooms and kitchens.
Can a faucet leak from the base and not the spout?
Yes, a faucet can leak from the base, which usually points to issues with the O-ring or seals around the body of the faucet. This kind of leak often appears as water pooling at the base of the faucet after use. If left unaddressed, it can lead to damage to your countertop or fixtures. Replacing the O-ring or reseating the faucet can often resolve the issue.

