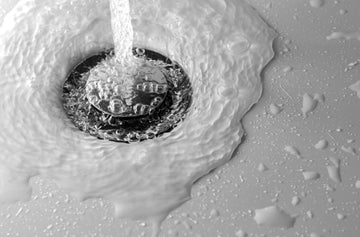


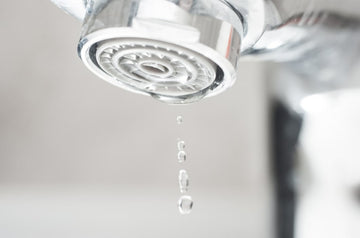
A dripping faucet might seem like a minor annoyance, the kind of thing you promise yourself you’ll deal with “next weekend.” But over time, that steady plip, plip, plip adds up. Not just in wasted water, but in real dollars and potential long-term plumbing issues.
Whether it’s your bathroom sink, kitchen faucet, or an outdoor spout, a leaking tap usually points to a simple mechanical failure that can often be repaired without professional help. But first, you need to know what’s causing it.
In this article, we’ll walk you through the common causes of a dripping faucet, how to fix it step by step, and how much it could be quietly costing you every month. If you’ve been ignoring that slow leak, this guide should give you a reason to finally tackle it.
What causes a dripping faucet?
A dripping faucet can be traced to a handful of common issues, usually related to wear and tear of internal parts. But the exact cause often depends on the location and type of faucet: kitchen, bathroom, outdoor spigot, or even shower fixtures.
Worn-out washers or seals
In compression faucets (the kind with separate hot and cold handles), the most common culprit is a worn rubber washer. Over time, friction from repeated use can wear it down, allowing water to sneak through even when the faucet is turned off.
Cartridge, ball, and ceramic disk faucets don’t have traditional washers, but they still use seals, O-rings, and cartridges that can deteriorate, harden, or get clogged with mineral deposits.
Loose or damaged O-ring
A small rubber ring called an O-ring sits around the valve stem and helps keep the faucet handle in place. If the drip is coming from the base of the handle rather than the spout, it’s likely due to a loose or cracked O-ring.
Corroded valve seat
The valve seat connects the faucet to the spout. In older or lower-quality fixtures, mineral buildup or corrosion on the seat can interfere with sealing, causing slow leaks that worsen over time.
High water pressure
If the drip is inconsistent or only happens at certain times (like overnight), it could be a water pressure issue. High pressure can prevent water from draining smoothly and cause it to leak out of weak spots in the faucet.
Faulty cartridge
If your faucet has a single lever and controls both temperature and flow, chances are it uses a cartridge system. When the cartridge wears down, water may seep past the seals and cause dripping. Usually a steady, predictable leak.
Improper installation
Sometimes the cause isn’t age but poor installation. Misaligned parts, wrong-sized washers, or overtightened hardware can all lead to dripping even in newer faucets.
How to fix a dripping faucet (step-by-step)

Fixing a dripping faucet can be a straightforward DIY task if you’re comfortable with basic tools. The exact fix depends on your faucet type, but here’s a general guide that works for most standard sink faucets:
Tools you’ll need
-
Adjustable wrench or basin wrench
-
Flathead and Phillips screwdrivers
-
Replacement parts (O-ring, washer, or cartridge depending on faucet type)
-
Plumber’s grease
-
Towel or rag
-
Allen key (for some faucet handles)
Step 1: Turn off the water supply
Look under the sink for the shut-off valves and turn them clockwise. Open the faucet to drain any remaining water and relieve pressure.
Step 2: Plug the drain
Use a sink plug or rag to block the drain. This prevents small parts from falling in while you work.
Step 3: Remove the faucet handle
Use a screwdriver or Allen key to remove the handle. The set screw is usually hidden under a cap or on the side or back of the handle.
Step 4: Take apart the faucet assembly
Once the handle is off, use your wrench to carefully loosen and remove the retaining nut or collar. This exposes the internal parts such as the cartridge, washer, or O-ring.
Step 5: Inspect and replace worn parts
-
Washer faucet? Replace the rubber washer and possibly the valve seat.
-
Cartridge faucet? Pull out and replace the cartridge with the same model.
-
Ball or disk faucet? Look for worn seals or springs and replace them.
Clean away any debris, mineral deposits, or corrosion you see around the internal parts.
Step 6: Apply plumber’s grease
Before reassembly, apply a small amount of plumber’s grease to the new parts, especially O-rings and seals. This helps with longevity and smooth operation.
Step 7: Reassemble the faucet
Reverse your disassembly steps. Tighten the retaining nut gently (don’t overtighten), reattach the handle, and remove the drain plug or rag.
Step 8: Turn on the water supply and test
Open the shut-off valves, turn the faucet on, and check for leaks. Run both hot and cold water to ensure everything is functioning smoothly.
If your faucet continues to drip after replacing worn parts, the issue may be deeper (like corroded valve seats or high water pressure). At that point, it might be worth consulting a plumber.
How much water (and money) does a dripping faucet waste?

A dripping faucet might seem harmless, but even a slow leak adds up in both water usage and cost.
Water Wasted
-
One drip per second can waste over 3,000 gallons per year. That’s equivalent to over 180 showers.
-
A faster drip (say, 10 drips per minute) still wastes hundreds of gallons annually.
-
If the faucet is hot water, you’re also wasting the energy used to heat it.
Money Wasted
Let’s break it down:
-
Water bills: Even at national average rates, 3,000 gallons can add up to $20–$60 per year per faucet.
-
Energy bills: If hot water is dripping, you could lose an extra $30–$80 annually depending on your heater type and rates.
-
Plumbing damage: Left unchecked, constant dripping can stain sinks, corrode fixtures, or create mold. All leading to costly repairs.
Environmental Impact
Beyond your wallet, a single dripping faucet contributes to unnecessary water strain. If every household in the U.S. had just one leaking tap, the country would waste over a trillion gallons of water a year.
A dripping faucet is a hidden expense and an environmental drain. Fixing it promptly is one of the simplest ways to save money and conserve water.
Don’t ignore the drip
A dripping faucet may seem minor, but it adds up. In water waste, utility bills, and long-term fixture damage. Whether it’s a worn washer or buildup from hard water, identifying the cause and fixing it early saves time and money. If a quick DIY fix doesn’t solve the issue, consider calling a plumber before a small leak becomes a bigger problem.
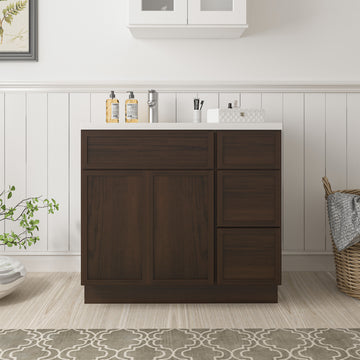
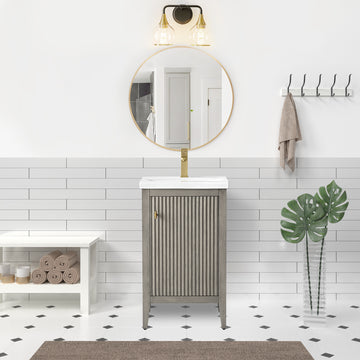
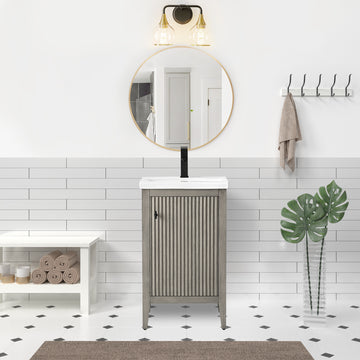
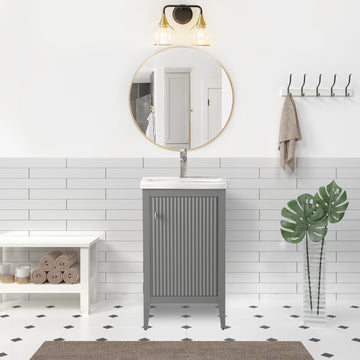
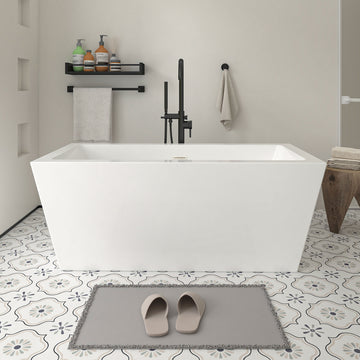
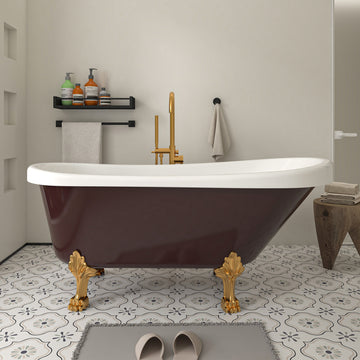
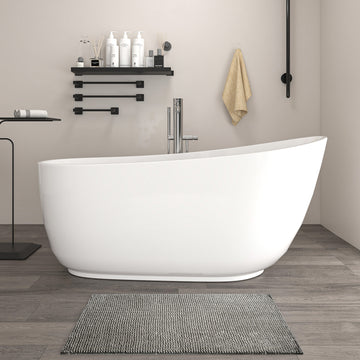
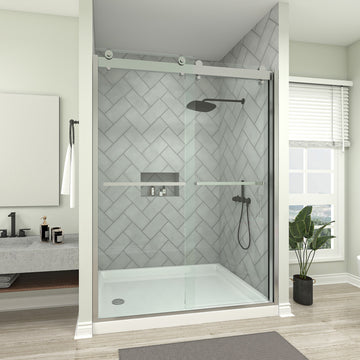
Ready to upgrade your bathroom fixtures entirely? Browse our collection of faucets and vanities for reliable, modern replacements that won’t leave you listening to another late-night drip.
FAQs
Can a dripping faucet get worse over time?
Yes. What starts as an occasional drip can turn into a constant leak. As washers wear down or mineral buildup increases, the flow rate can accelerate, leading to more waste and potential fixture damage.
Is it safe to keep using a dripping faucet?
It’s usable, but not advisable. Besides the waste and noise, constant dripping may cause stains in your sink or tub and speed up corrosion inside your plumbing.
Do all dripping faucets need a plumber?
Not necessarily. Many cases like a worn-out washer or loose O-ring can be fixed at home with basic tools. But if the leak persists after replacement, or you suspect a valve or pipe issue, calling a plumber is worth the cost.
What tools do I need to fix a dripping faucet?
At minimum: an adjustable wrench, screwdriver, and replacement parts (like washers, O-rings, or a cartridge). A cloth and penetrating oil can also help if parts are stuck or corroded.
Can hard water cause a faucet to drip?
Yes. Mineral deposits from hard water can wear down seals and clog internal mechanisms. Regular cleaning and using a water softener can reduce this issue.
Is it more common for hot or cold faucets to drip?
Hot water taps are slightly more prone to dripping due to heat-related wear on internal components, especially in older faucets.