


Planning a kitchen remodel is exciting — until you realize one wrong measurement can throw off your entire cabinet order. Learning how to measure for kitchen cabinets correctly before you shop saves you from costly returns, awkward gaps, and installation headaches. This step-by-step guide walks you through everything: the tools you need, how to measure walls and openings, how to account for ceilings and floors, and how to sketch a layout you can actually use. Take your time with this process, and your new kitchen will come together beautifully.
Tools You Need Before You Start
Gathering the right tools first makes the job much smoother. You don't need professional equipment — just a few basics:
- 25-foot tape measure — long enough for most kitchen walls in a single pull
- Pencil and graph paper (or a digital tool like our free kitchen planner)
- Level — to check whether your floors and ceilings are truly flat
- Notepad — to record every measurement as you go
- Stud finder (optional but helpful for noting wall structure)
Pro tip: Measure everything at least twice. If two measurements don't match, measure a third time and use the smaller number. Cabinets can always be shimmed out slightly, but they can't be shrunk down on-site.
Understanding Standard Cabinet Dimensions
Before you put the tape measure to the wall, it helps to understand how kitchen cabinets are sized. This gives context to the numbers you're recording.
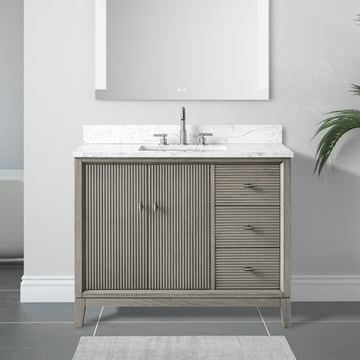
Base Cabinets
Base cabinets sit on the floor and support the countertop. Standard height is 34.5 inches (the countertop brings the finished height to roughly 36 inches). Standard depth is 24 inches. Widths run in 3-inch increments, typically from 9 to 48 inches.
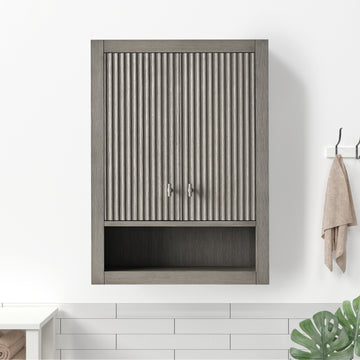
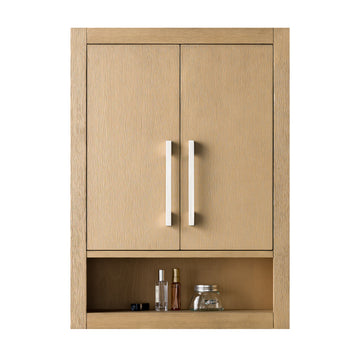
Wall Cabinets
Wall cabinets hang above the countertop. They're most commonly 12 inches deep and come in heights of 12, 15, 18, 24, 30, 36, and 42 inches. Taller wall cabinets (36–42 inches) extend closer to the ceiling and maximize storage.
Tall Cabinets
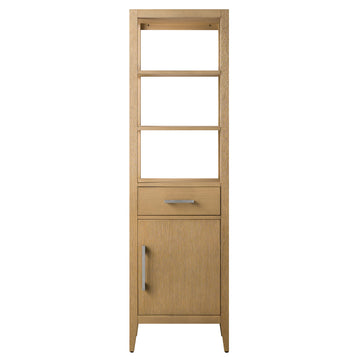
Pantry and oven-tower cabinets are typically 84, 90, or 96 inches tall and 24 inches deep. Their height interacts directly with your ceiling measurement, so note that dimension carefully.
How to Measure for Kitchen Cabinets: A Step-by-Step Walkthrough
Step 1 — Measure Each Wall
Start by measuring the total length of every wall that will have cabinets. Place your tape measure in the inside corner and extend it to the next corner, doorframe, or window casing. Record each wall separately. Label them on your sketch (Wall A, Wall B, and so on) so you can refer back easily.
Important: Measure at counter height (about 36 inches from the floor), at floor level, and at the ceiling line. Older homes especially can have walls that aren't perfectly plumb, so these three measurements sometimes differ by half an inch or more. Always use the shortest measurement when planning cabinet runs.
Step 2 — Measure Ceiling Height
Measure from the finished floor to the ceiling in several spots along each wall. Note any soffits, beams, or dropped sections. If your ceiling is 8 feet (96 inches), you can fit 42-inch wall cabinets with a small crown-molding gap at the top. A 9-foot ceiling opens up the option for stacked cabinets. Record the lowest ceiling measurement for each wall.
Step 3 — Measure Windows and Doors
For every window and door on your cabinet walls, record:
- Distance from the nearest corner to the edge of the casing
- Width of the window or door opening (casing to casing)
- Height of the window sill from the floor (this affects whether wall cabinets can sit below it)
- Height of the top of the window casing from the floor
These measurements tell you which sections of wall are available for cabinets and which are interrupted. A window above the sink, for example, means no wall cabinet in that spot — but knowing the exact dimensions lets you plan shorter flanking cabinets that still look intentional.
Step 4 — Locate Appliances and Plumbing
Mark the center of your sink rough-in on your sketch, along with the positions of your dishwasher, range, and refrigerator. Note these key clearances:
- Refrigerator space: Measure width, depth, and height of the opening, and add at least 1 inch on each side for ventilation.
- Range or cooktop: Confirm the opening width matches your appliance (typically 30 or 36 inches).
- Dishwasher: Standard opening is 24 inches wide.
Appliance placement directly determines where your cabinet runs start and end, so getting these right is critical.
Step 5 — Measure Corners
If your kitchen has an L-shape or U-shape layout, measure the interior corner depth on both walls. This tells you whether you need a corner base cabinet (blind corner or lazy-Susan style) and how much of each adjacent wall it will consume. Typical blind-corner cabinets require at least 36–39 inches of wall space on one side to function properly.
Step 6 — Check for Square, Level, and Plumb
Use your level to confirm whether the floor is flat along the entire cabinet run. If the floor dips or rises, you'll need to shim base cabinets to level them, which affects how tall your finished installation looks relative to the wall. Noting a floor variance of even half an inch now prevents a frustrating surprise during installation.
Drawing Your Kitchen Layout
Once you have all your measurements, transfer them to graph paper using a consistent scale — 1/2 inch per foot works well. Draw each wall to scale, mark windows, doors, and appliances, and then start placing cabinet outlines. This bird's-eye view is where you'll spot potential issues: a cabinet that would block a door swing, a run that comes up two inches short of a wall, or a corner that needs a filler strip.
If pencil and paper feel tedious, try laying everything out in our free kitchen planner. You can input your room dimensions, drag and drop cabinet configurations, and see how different combinations fill your space — all before committing to an order.
Common Measuring Mistakes to Avoid
- Measuring only once. Always verify each measurement with a second pass.
- Forgetting crown molding or toe kick height. Crown molding adds 3–6 inches to wall cabinet height; factor this into your ceiling clearance.
- Ignoring outlets and switches. Their positions may require a filler strip or a notched cabinet back.
- Not accounting for the refrigerator's door swing. The cabinet next to it needs enough clearance to pull the door fully open.
- Skipping the diagonal corner check. Measure diagonally across the room to confirm it's truly square — if the two diagonal measurements differ, your corners aren't 90 degrees, which affects corner cabinet fit.
Frequently Asked Questions
Do I measure the wall or the floor space when planning base cabinets?
Measure the wall at counter height (about 36 inches from the floor) for the most accurate base-cabinet planning. The wall measurement tells you the usable linear space for cabinet faces. Floor space can be slightly different due to baseboard thickness or uneven walls, so always measure at the height where the cabinets will actually sit.
How much space should I leave between wall cabinets and the countertop?
The standard backsplash zone between the countertop surface and the bottom of wall cabinets is 18 inches. This leaves comfortable room for countertop appliances and tasks. In some designs — particularly near a range hood — that gap may vary, but 18 inches is the reliable default to use when positioning wall cabinets on your layout.
What if my measurements don't add up to a standard cabinet combination?
This is very common. Cabinets come in 3-inch-width increments, so your wall almost never works out to a perfect multiple. The solution is a filler strip — a narrow piece of matching cabinet material that bridges the gap between the last cabinet and the wall or appliance. Plan for fillers in your layout from the start, and your finished kitchen will look clean and custom-built.
Plan Your Kitchen with VanityArt
Now that you know exactly how to measure for kitchen cabinets, you're ready to start building your dream layout. VanityArt carries a wide range of base cabinets, wall cabinets, and tall pantry cabinets in styles and finishes designed to work together seamlessly. Before you add anything to your cart, take your measurements and dimensions for a test drive in our free kitchen planner — it's the easiest way to visualize your space, try different configurations, and feel confident in your choices before your order ships. Your perfect kitchen starts with the right plan.