

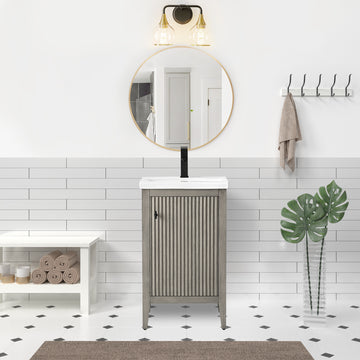
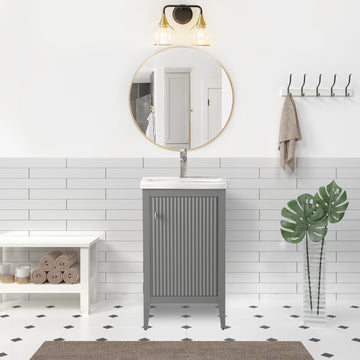


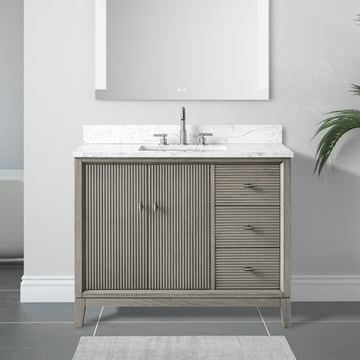


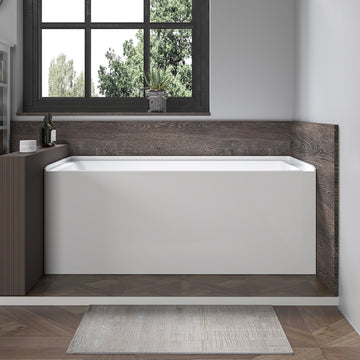


Learning how to install a floating bathroom vanity is one of the most rewarding weekend projects a homeowner can tackle. Done right, a wall-mounted vanity opens up floor space, makes cleaning easier, and gives any bathroom a clean, modern look. But the job has real stakes: a poorly anchored cabinet can pull away from the wall, and a misaligned drain can mean a call to a plumber. This guide walks you through every critical step—locating studs, coordinating with your plumbing rough-in, leveling the cabinet, and making watertight connections—so you can finish with confidence.
Tools and Materials You Will Need
Gather everything before you start. Stopping mid-project to run to the hardware store costs time and creates opportunities for mistakes.
- Stud finder
- Level (48-inch preferred)
- Tape measure and pencil
- Drill and drill bits (wood and masonry if needed)
- Lag screws or heavy-duty wall anchors rated for your vanity's weight
- Mounting rail or French cleat (often included with the vanity)
- Adjustable wrench and basin wrench
- P-trap assembly and supply lines
- Plumber's putty or silicone sealant
- Teflon tape
- Stud-grade 2×6 blocking (if studs don't align with your layout)
Step 1 — Locate the Wall Studs and Plan for Blocking
A floating vanity carries its entire weight—plus whatever you store inside—through the wall connection alone. That means anchoring into studs is non-negotiable. Run your stud finder slowly across the installation area and mark every stud center with a pencil. Standard stud spacing is 16 inches on center, but older homes may use 24-inch spacing.
Mark the desired finished height of the vanity bottom on the wall. A common install height places the countertop at 32 to 36 inches from the finished floor, so work backward from the countertop thickness and sink depth to find where the cabinet bottom will sit. Confirm that at least two studs fall within the cabinet's width. If they don't—or if the studs land only on the outer edges—install a horizontal 2×6 or 2×8 blocking board between studs before closing the wall. If drywall is already up, you can add a plywood backer panel (¾-inch) screwed into multiple studs and then mount the vanity to that panel.
Step 2 — Coordinate with Your Plumbing Rough-In
This step is the one most DIYers underestimate. Your supply lines and drain stub-out must exit the wall at locations that will be accessible once the cabinet is hung—and they must not interfere with the mounting hardware.
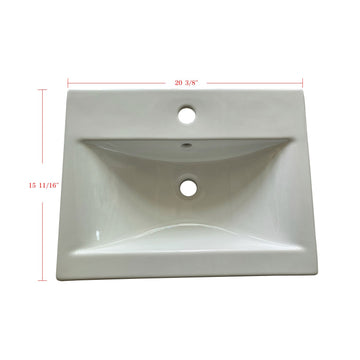
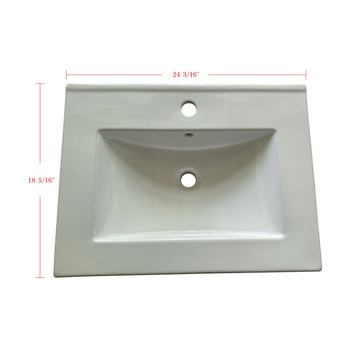
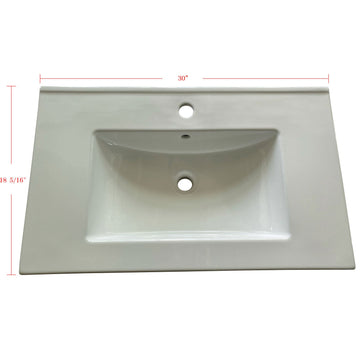
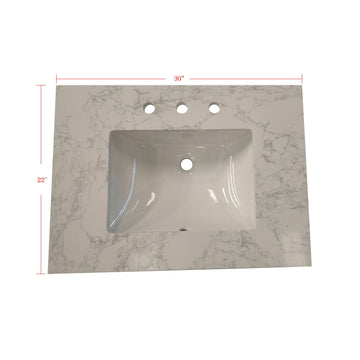
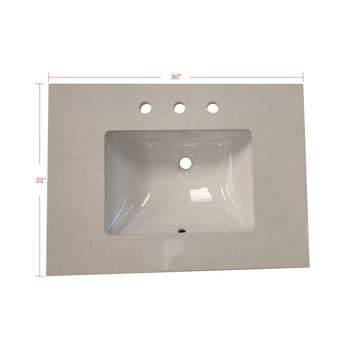
- Drain centerline: Confirm the drain stub-out aligns with the sink drain location shown in your vanity's spec sheet. Most single-sink vanities place the drain 16 to 18 inches from one side; double-sink models vary widely.
- Supply line height: Hot and cold supply stubs should exit the wall at roughly the same height as the bottom of the cabinet or slightly below, so the angle stops sit inside the cabinet and remain accessible.
- Clearance for the mounting rail: The mounting rail or hanging bracket is typically 1 to 3 inches tall and sits flush against the wall near the top of the cabinet interior. Make sure no pipes run through this zone.
If you are roughing in new plumbing, set the drain centerline and supply stubs before hanging drywall. If you are working with existing rough-in that doesn't quite match, flexible braided supply lines (up to 20 inches) give you play on the supply side. The drain requires more precision—offset flanges or a bottle trap can help adjust by a few inches.
How to Install a Floating Bathroom Vanity: Mounting the Cabinet
With studs marked and plumbing confirmed, you are ready to hang the cabinet. This is the most physical part of the job and benefits from a second set of hands.
- Attach the mounting rail to the wall. Most floating vanities ship with a metal rail or French cleat. Hold it at the correct height, confirm it is level with your 48-inch level, and drive lag screws directly into studs. Use at least two lag screws per stud (3-inch minimum length into wood).
- Cut drywall cutouts if needed. Some installation methods require the pipe stubs to pass through the cabinet back panel. Measure carefully and use a jigsaw or hole saw to make clean cutouts before lifting the cabinet.
- Lift and hook the cabinet. With a helper holding one side, lift the cabinet and engage it onto the mounting rail. Let it rest on the rail before releasing weight.
- Add secondary fasteners. Many vanities have additional screw points through the top interior of the cabinet into the wall. Drive these into studs or your plywood backer for redundant support.
- Check level in both directions. Place your level front-to-back and side-to-side. Most rails allow micro-adjustment; shim the rail if needed before driving final screws.
Step 4 — Level and Secure the Final Position
A vanity that is out of level by even ¼ inch will show it in the countertop reveal, cabinet door gaps, and water that puddles on one side of the sink. Take the extra five minutes to get this right.
- Check level along the top face of the cabinet with the long level.
- Verify plumb on the front face using the level held vertically.
- If you are installing a double-sink vanity, check level at both ends and in the middle—long cabinets can bow slightly.
- Once satisfied, drive any remaining fasteners and remove shims if the rail is fully secured.
Step 5 — Connect the Plumbing
With the cabinet secure, connect the water supply and drain.
Supply lines: Wrap the angle stop threads with Teflon tape (two to three wraps, clockwise). Thread on the angle stop, hand-tighten, then snug with an adjustable wrench—avoid over-tightening brass fittings. Connect the flexible braided supply lines from the angle stops to the faucet inlets. Hand-tighten plus a quarter turn.
Faucet and sink: If your vanity comes with a sink already mounted, the faucet may be pre-installed. If not, install the faucet before setting the countertop—it is far easier to work from below while the top is still on a workbench.
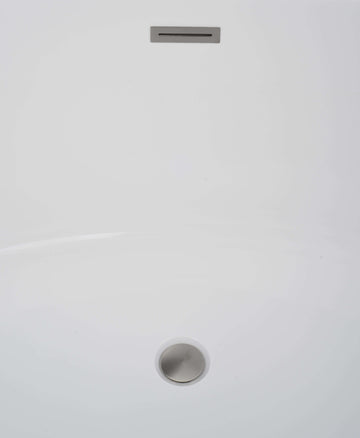
Drain and P-trap: Apply plumber's putty or silicone under the drain flange, press it into the sink drain hole, and tighten the locknut from below. Slide the P-trap onto the drain tailpiece and connect the trap arm to the wall drain stub-out. Hand-tighten all slip-joint nuts, then snug with slip-joint pliers—do not overtighten plastic fittings.
Turn the water on slowly, check every connection visually for drips, and run the sink for 60 seconds while you watch the P-trap and supply connections.
Step 6 — Install the Countertop and Finishing Touches
If your countertop is separate from the cabinet, set it in place and run a thin bead of silicone around the perimeter where it meets the wall and the cabinet top. For vessel-sink configurations, you may also need to seal around the drain opening. Wipe away any squeeze-out before it cures.
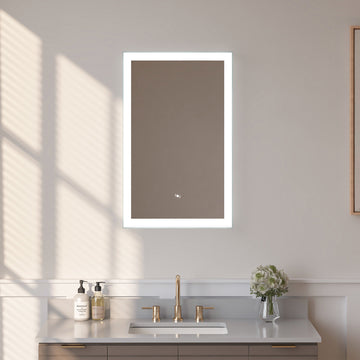
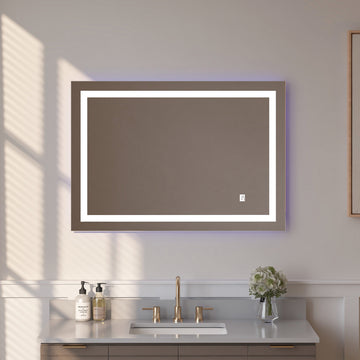
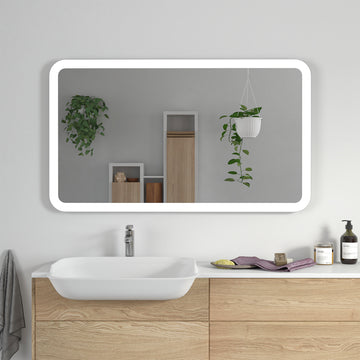
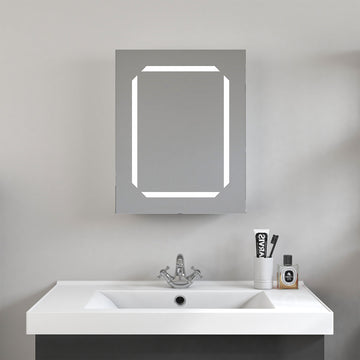
Install cabinet doors and drawers according to the manufacturer's guide. Most concealed hinges allow three-axis adjustment—use a Phillips screwdriver to align door faces so gaps are even. Mount your bathroom mirror at eye level above the vanity, keeping it centered on the sink.
Caulk the joint where the cabinet meets the wall on the sides and bottom if there is a gap. This keeps moisture out and gives the installation a finished look.
Common Mistakes to Avoid
- Skipping blocking: If studs don't align, adding blocking is the right fix—not oversized anchors into drywall alone.
- Ignoring the spec sheet: Drain and supply locations vary by model. Always cross-reference dimensions before cutting pipes or drywall.
- Over-tightening supply connections: Brass fittings crack. Snug plus a quarter turn is enough.
- Not dry-fitting the P-trap: Assemble the drain without cement first to confirm alignment, then make permanent connections.
- Rushing the level check: A few extra minutes with the level saves hours of correction later.
Frequently Asked Questions
Can I install a floating vanity on a wall without studs in the right places?
Yes, but you must add structural support first. Install horizontal 2×6 or 2×8 blocking between existing studs, or screw a ¾-inch plywood backer panel across multiple studs. Never rely solely on drywall anchors for a cabinet that will carry significant weight.
What height should a floating vanity be mounted?
Most homeowners prefer a finished countertop height of 32 to 36 inches. To find the correct mounting rail height, subtract the countertop thickness and any leg or base clearance from your target countertop height. ADA-compliant installations typically target a finished surface of 34 inches with at least 27 inches of knee clearance below.
Do I need a permit to install a floating vanity?
Replacing an existing vanity in the same location without moving drain or supply lines generally does not require a permit in most US jurisdictions. If you are relocating plumbing, opening walls, or doing new rough-in, check with your local building department before starting work.
Ready to find the right cabinet for your space? Browse the full Floating Vanity collection at VanityArt to find wall-mount styles in every size, finish, and configuration.