


Knowing how to install a shower door properly can save you hundreds of dollars in labor costs and prevent the leaks, wobbles, and misaligned frames that plague rushed installations. Whether you are replacing an old sliding panel or fitting a frameless pivot door for the first time, the process comes down to three things done right: accurate measurements, plumb framing, and a watertight seal. This guide walks you through every stage with the kind of detail that actually helps you finish the job correctly.
What You Will Need Before You Start
Gather everything before you pick up a drill. Stopping mid-installation to find a tool is how mistakes happen.
- Tape measure and a notepad
- 4-foot level (longer is better for checking plumb)
- Power drill and bits sized for your wall material
- Masonry or tile bits if drilling into ceramic or porcelain
- Plastic anchors and stainless-steel screws
- 100% silicone caulk (clear or color-matched)
- Caulk gun and a plastic smoothing tool
- Hacksaw or aluminum-cutting blade (for trimming tracks if needed)
- Shims (plastic or composite — not wood, which warps)
- Painter's tape
- Safety glasses and work gloves
Check your shower door manufacturer's instructions for any hardware specific to that model. Every unit is slightly different, and the spec sheet will list minimum clearances and weight ratings you need to respect.
How to Measure Your Shower Opening Accurately
This is the step most homeowners rush, and it is the one that causes the most returns and callbacks. A shower opening is almost never perfectly square, so you cannot take just one measurement and assume it applies everywhere.
- Measure the width in three places: at the top of the opening, at the middle, and at the bottom, just above the shower pan curb. Write down all three numbers.
- Measure the height on both sides: from the top of the curb to the ceiling or header bar height you want. Note any difference between the left and right side.
- Check for square: Measure diagonally from corner to corner in both directions. If those numbers differ by more than ¼ inch, your opening is out of square and you will need to account for that during installation.
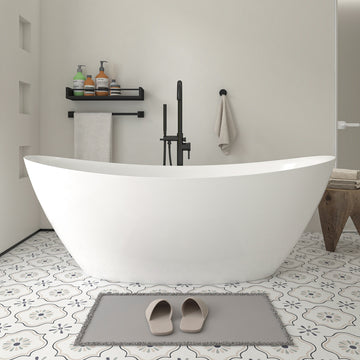
When ordering or selecting a door from our Shower Doors collection, use the smallest width measurement as your reference. Most frameless and semi-frameless doors have a small amount of adjustment built in, but you do not want to force hardware against a wall tile or fight a gap that is too wide to seal.
Add a note about the curb surface. If it is uneven or has an aggressive slope toward the drain, that will affect how the bottom sweep or seal bar sits. Some installations require a thin bead of silicone under the bottom track to bridge minor low spots.
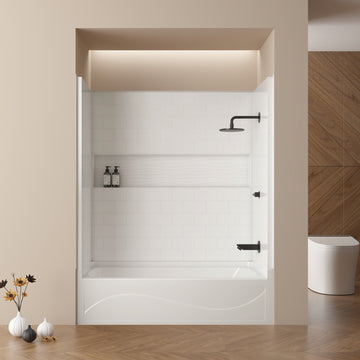
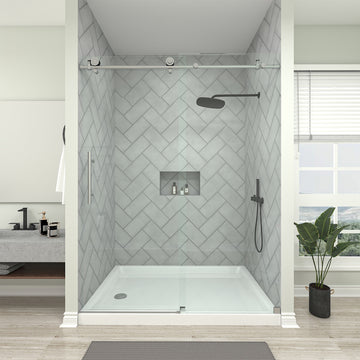
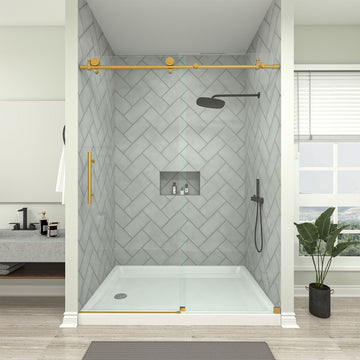
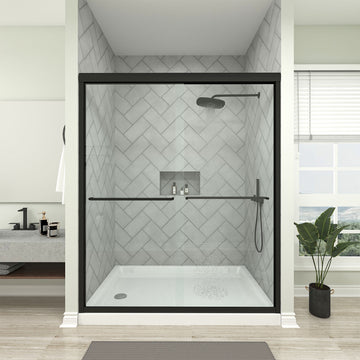
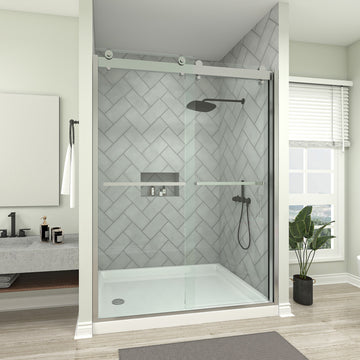
Understanding Door Types and Their Fit Requirements
The type of door you choose determines how forgiving the installation will be. Sliding bypass doors rely on level tracks and tend to be more tolerant of slightly out-of-plumb walls. Pivot and hinged doors are less forgiving because the gap between the door and the adjacent wall panel must stay consistent along the full height. Frameless glass doors require the most precise installation but deliver the cleanest look.
Neo-angle doors, designed for corner showers, add complexity because you are aligning multiple panels and hinges. If this is your first installation, a framed sliding door is the safest starting point. If you are comfortable with basic carpentry and have taken accurate measurements, a pivot or hinged frameless unit is very achievable.
How to Install Shower Door Wall Channels and Jambs
This is where plumb matters most. A wall channel or jamb that is even slightly out of plumb will cause a pivot door to swing open or closed on its own and will create uneven gaps along a sliding door frame.
- Hold the wall channel against the wall tile and use your level to confirm it is perfectly plumb — not just close, but dead-on. Mark the screw hole positions with a pencil.
- If the wall itself is out of plumb, do not simply angle the channel to follow it. Instead, use composite shims behind the channel to bring it to true vertical. This is the correct technique and it is what professionals do.
- Drill pilot holes. For ceramic or porcelain tile, use a carbide-tipped tile bit at slow speed with light pressure. Let the bit do the work. Forcing it cracks tile.
- Insert plastic wall anchors rated for the weight of the door. Do not skip anchors even if the stud is close — tile surfaces need anchor support to prevent cracking over time.
- Drive screws firmly but not so tight that they crack the tile or deform the channel flange.
- Check plumb again after fastening. Channels can shift slightly as screws are tightened. If it has moved, loosen, re-shim, and re-drive.
Repeat this process for the opposite side. Then set your header bar or top track across both channels and confirm it is level. Adjust shims at the top of either channel as needed before locking anything down permanently.
Hanging the Door Panel
For sliding doors, set the rollers or gliders into the top track first, then lower the bottom edge into the bottom track or onto the guide. Test the slide along the full range of motion before adding any bottom guide hardware. The door should glide without catching or tilting.
For pivot or hinged doors, attach the pivot hardware to the door panel according to the manufacturer's guide. Then hook the top pivot into the header and align the bottom pivot with the floor receiver or curb bracket. Most pivot systems allow a few degrees of adjustment at this stage. Use that adjustment to make the door hang square in the opening, with even gaps on both sides.
With a helper holding the glass panel, check the gaps on all sides with a tape measure. An even 3/16-inch gap is ideal for most frameless units. If your gaps are uneven, adjust the pivot positions before moving on.
Shimming for Plumb: The Detail That Separates Good Installs from Bad Ones
Shimming is not a workaround — it is a standard part of professional shower door installation. Almost no shower wall is perfectly plumb, and the hardware is not designed to flex or bend to compensate for that. Shims do the job correctly.
Use thin plastic shims available at any home center. Stack them behind wall channels at each screw point until your level reads true. Mark the shim position with tape, drill through the shim and tile together, and anchor through both. Trim any protruding shim material flush with a utility knife after the channel is secured. The silicone caulk applied over the joint will cover any minor irregularities.
Sealing Glass Edges with Silicone Caulk
Silicone caulk is your last line of defense against water intrusion, and it needs to be applied correctly to hold up over time. Use 100% silicone — not acrylic latex, not a blend. Pure silicone stays flexible, bonds to glass and tile without primer, and resists mold far better than other caulk types.
- Clean the joint surfaces with isopropyl alcohol and let them dry completely before caulking.
- Apply painter's tape on both sides of the joint to keep lines clean.
- Run a continuous bead of caulk along the joint between the wall channel and the tile. Do not stop and start — breaks in the bead create weak spots.
- Smooth with a wetted finger or plastic tool in one pass.
- Remove the painter's tape immediately, before the caulk skins over.
- Also caulk the inside bottom joint where the door frame meets the shower curb, and any joint between the bottom track and the pan.
- Allow full cure time — typically 24 to 48 hours — before running water.
Do not caulk the inside of the wall channel itself. Water that gets past the door sweep needs somewhere to drain, and caulking inside the channel traps it.
Testing the Installation Before You Call It Done
Run your shower at full pressure for five minutes with the door closed. Check the bottom seal strip, the channel-to-tile joints, and any corner connections for drips or seepage. Open and close the door several times. It should swing or slide smoothly without binding, and the latch or magnetic catch should engage cleanly. If you see any dripping at the channels, the silicone bead needs to be removed and reapplied — do not add a second bead on top of a failed one.
Frequently Asked Questions
How much gap should there be between a frameless shower door and the wall?
Most frameless doors are designed with a gap of approximately 3/16 inch on hinged sides and up to ¼ inch on non-hinged sides. This allows the door to swing freely without scraping tile. The gap is managed by the door's seal or vinyl wipe, which bridges the space and blocks water.
Can I install a shower door on an out-of-square shower opening?
Yes, but you need to account for it. Use shims behind the wall channels to bring the hardware to plumb and level regardless of what the walls are doing. The door is hung to the hardware, not to the walls. As long as the hardware is true, the door will function correctly even if the surrounding tile is slightly off.
What is the best caulk to use around a shower door frame?
Use 100% silicone caulk, not acrylic latex or a silicone-blend product. Pure silicone remains flexible as the door hardware expands and contracts, bonds directly to glass and ceramic without primer, and resists mold growth better than other caulk types. Choose a mildew-resistant formula for bathroom use.
A well-installed shower door adds function and a finished look to any bathroom — browse our full Shower Doors collection to find the right style and size for your space, and pair it with a matching vanity, mirror, or bathroom accessory to complete the look.