


If your bathroom vanity looks dated, worn, or just plain tired, knowing how to paint a bathroom vanity cabinet is one of the most cost-effective upgrades you can make. A fresh coat of paint can transform a builder-grade piece into something that looks intentional and polished — without the cost of a full replacement. The key is in the preparation. Skip steps, and you'll end up with peeling, bubbling, or brush marks that look worse than what you started with. Follow them correctly, and the results can last for years.
What You'll Need Before You Start
Getting your materials together before you begin saves time and prevents you from stopping mid-project. Here's what you'll need:
- 120-grit and 220-grit sandpaper (or a random orbital sander)
- Tack cloth or microfiber cloths
- TSP substitute cleaner or a degreaser
- Bonding primer (shellac-based or water-based, depending on your cabinet material)
- Cabinet-grade or trim paint (alkyd, acrylic-alkyd hybrid, or 100% acrylic)
- High-density foam rollers and a 2-inch angled brush
- Painter's tape
- Screwdriver for removing hardware
- Drop cloths
- Liquid deglosser (optional, but helpful on laminate surfaces)
Choosing the Right Paint for Bathroom Cabinets
Not all paint is created equal, and bathrooms are a demanding environment. Humidity, steam, and water splashes mean you need a finish that can hold up without yellowing or chipping.
- Alkyd paint (oil-based): Levels beautifully and is very durable, but takes longer to dry and requires mineral spirits for cleanup. It can yellow slightly over time, especially in white or light tones.
- Acrylic-alkyd hybrid: The best of both worlds — easy water cleanup, strong adhesion, hard finish. Brands like Benjamin Moore Advance or Sherwin-Williams Emerald Urethane Trim Enamel fall into this category.
- 100% acrylic: Dries faster and stays color-stable, but not quite as hard as an alkyd. Still a solid choice when paired with a good primer.
Whatever you choose, stick with a satin or semi-gloss sheen. Flat finishes trap moisture and are nearly impossible to wipe clean in a bathroom setting.
How to Paint a Bathroom Vanity: Step-by-Step Prep
Preparation is where most DIY paint jobs succeed or fail. Spend more time here than anywhere else.
Step 1 — Remove everything: Take off the doors, drawer fronts, and all hardware including hinges and pulls. Label each piece with painter's tape so you know where it goes back. Work on doors and drawer fronts flat on a table or sawhorses.
Step 2 — Clean thoroughly: Use a TSP substitute or degreaser mixed with warm water. Wipe down every surface that will be painted, paying close attention to areas around the sink and handles where grease, soap scum, and oils accumulate. Let everything dry completely — at least 30 minutes.
Step 3 — Sand with 120-grit: Scuff-sand all surfaces to give the primer something to grip. You're not trying to remove the existing finish entirely — just breaking the surface gloss. Sand with the grain on wood. On MDF or laminate, sand lightly and evenly to avoid raising the material.
Step 4 — Wipe with tack cloth: After sanding, every bit of dust needs to come off. Use a tack cloth followed by a clean microfiber cloth. Any dust left behind will show up in your finish.
Priming: The Step You Cannot Skip
Primer creates the adhesion layer that keeps paint from peeling. It also seals porous surfaces and helps block any stains or tannins from bleeding through your topcoat.
For most wood or plywood vanities, a water-based bonding primer works well and dries fast. For MDF, laminate, or previously painted surfaces in poor condition, a shellac-based primer like Zinsser BIN gives stronger adhesion and better stain blocking.
- Apply primer with a foam roller on flat panels to minimize texture
- Use an angled brush for edges, corners, and recessed details
- Apply one full coat and let it dry according to the manufacturer's time — usually 1 to 2 hours for water-based, longer for shellac
- Once dry, lightly sand with 220-grit and wipe clean with a tack cloth before painting
Don't skip the sanding between prime and paint. It knocks down any raised grain or brush texture and gives you a noticeably smoother final result.
Applying the Topcoat for a Professional Finish
Thin, even coats are the rule here. Thick coats sag, drip, and take forever to cure properly.
First coat: Roll flat sections with a high-density foam roller using light, even pressure. Brush out edges and detail areas. Don't try to achieve full coverage on the first coat — it should look a little thin. Let it dry fully.
Light sand between coats: Once dry, sand lightly with 220-grit, wipe clean, and inspect for any drips or rough spots. Fix them before the next coat.
Second coat: Apply a second full coat the same way. For most cabinet paints, two coats over a primed surface is enough. If you're painting a dark cabinet a very light color, a third coat may be needed.
Allow full cure time: This is important. Paint may feel dry to the touch in a few hours, but full hardness takes much longer — often 7 to 30 days depending on the product. During this curing period, be gentle. Don't scrub, and don't let wet items sit on the surface.
Reassembling and Adding New Hardware
Once the paint has cured enough to handle — typically 24 to 48 hours — you can start reassembling. This is also a great time to swap out old hardware for something new. New knobs or pulls are inexpensive and make a big difference in the overall look. If you're drilling new holes for different hardware, do it carefully and fill any old holes with wood filler before you paint.
Rehang doors and reinstall drawer fronts. Check that everything is level and aligned. Minor adjustments to hinges can fix any gaps or misalignment.
Common Mistakes to Avoid
- Painting over dirty surfaces: Even invisible grease will cause adhesion failure. Always clean before sanding.
- Skipping primer on laminate: Paint will peel off laminate without a bonding primer, sometimes within weeks.
- Using the wrong roller nap: A smooth foam roller (1/4-inch nap or less) gives a much smoother finish on cabinets than a standard paint roller.
- Rushing dry times: Impatience causes more ruined cabinet paint jobs than any technique error.
- Painting in a cold or humid environment: Ideal conditions are between 65°F and 85°F with low humidity. A dehumidifier in the bathroom during painting and drying helps.
When Painting Isn't Enough
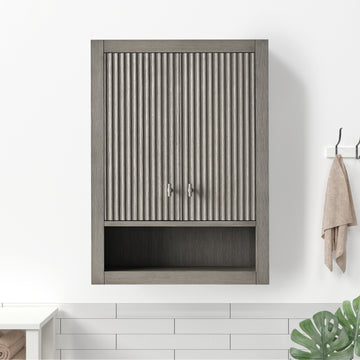
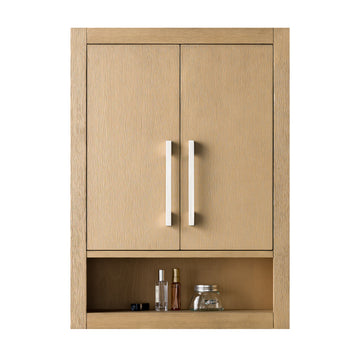
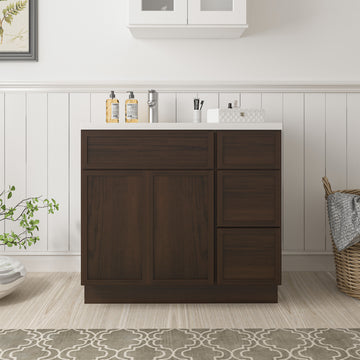
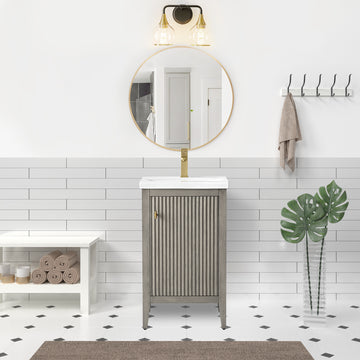
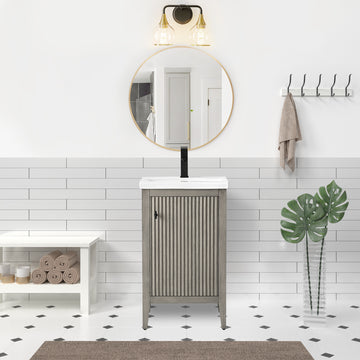
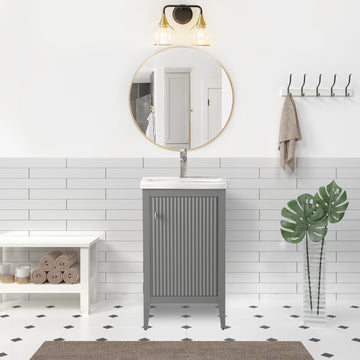
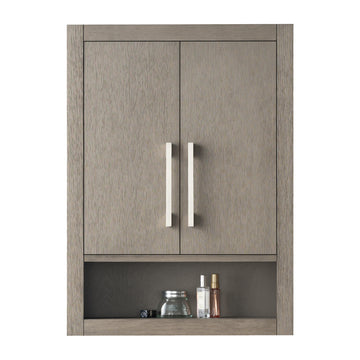
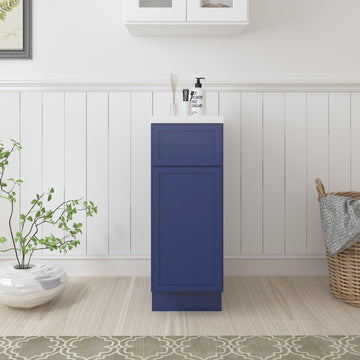
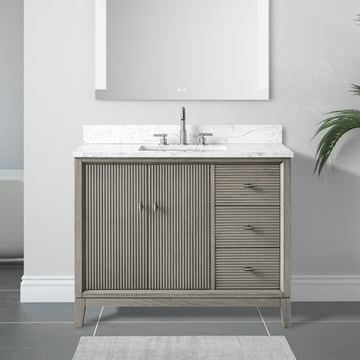
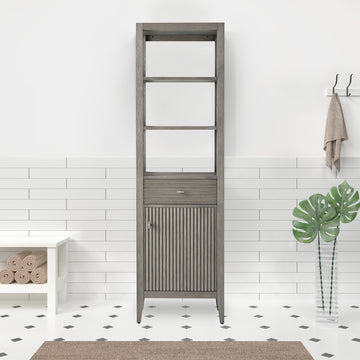
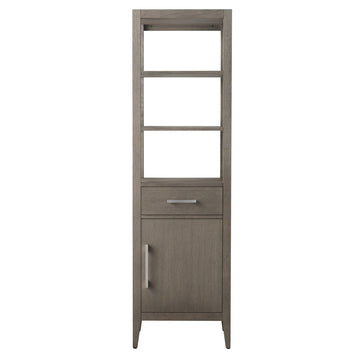
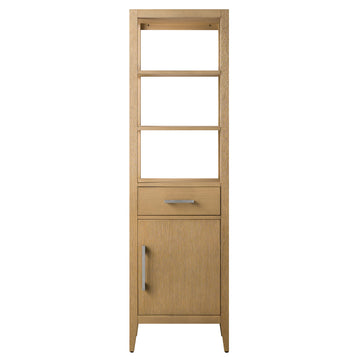
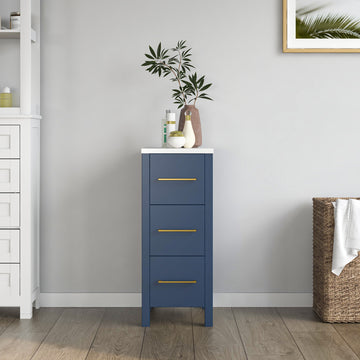
Sometimes a vanity is too far gone — warped doors, damaged MDF that's swollen from water, failing joints, or a layout that just doesn't work for your space anymore. If that's the case, it might be time to look at a replacement rather than a refresh. A new bathroom vanity gives you updated storage, modern finishes, and the opportunity to choose the right configuration for your room. Browse options like a floating vanity for a cleaner, more contemporary look, or a single sink vanity if you're working with a smaller footprint. If you want storage without a full vanity replacement, a freestanding cabinet can add function without a major renovation. You can explore the full range at VanityArt's vanity collection.
How long does painted bathroom vanity paint last?
With proper prep, a quality bonding primer, and a cabinet-grade paint, a painted bathroom vanity can last 5 to 10 years before needing a refresh. The finish holds up better when you avoid harsh chemical cleaners and let the paint fully cure before heavy use.
Can I paint a laminate bathroom vanity?
Yes, but adhesion is the challenge. You need to clean and lightly scuff-sand the surface, then apply a shellac-based bonding primer like Zinsser BIN before any paint. Without that primer, paint on laminate will peel within months.
Do I need to remove the vanity from the bathroom to paint it?
You don't need to remove the base cabinet from the bathroom, but you should remove all doors, drawer fronts, and hardware and paint them separately on a flat surface. This gives you better access, reduces drips, and produces a more even finish.
If you're ready to go beyond a paint refresh, explore VanityArt's full vanity collection to find a style and size that fits your bathroom perfectly.