


Knowing how to replace a bathroom vanity is one of the most rewarding weekend projects a homeowner can tackle. You skip the plumber's bill, you work on your own schedule, and you end up with a bathroom that actually looks the way you want it to. The job sounds intimidating mostly because of the plumbing, but the connections under a vanity are simple compression or slip-joint fittings—nothing that requires a license to handle. With the right preparation and a clear sequence of steps, most homeowners can remove an old vanity and install a new one in a single day.
What You Need Before You Start
Gather everything before you touch a single pipe. Stopping mid-job to run to the hardware store adds hours and frustration.
- Adjustable wrench and basin wrench
- Channel-lock pliers
- Utility knife and putty knife
- Bucket and old towels
- Carpenter's level (at least 24 inches)
- Drill and bits, plus screwdriver set
- Stud finder
- Plumber's putty or silicone caulk
- Teflon tape (PTFE tape)
- Measuring tape and pencil
- Shims (composite or plastic, not wood)
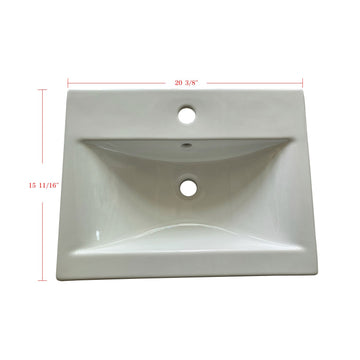
Also confirm that your new vanity fits the rough-in dimensions of your bathroom. Measure the width of the existing cabinet, the distance from the wall to the center of the drain, and the height of the supply lines. Order your replacement unit before demolition day so you are not living without a sink.
Turn Off the Water Supply and Drain the Lines
This is the step people skip and then regret. Locate the shutoff valves under the sink—there should be a hot and a cold valve on separate supply lines. Turn each clockwise until it stops. If the valves are old and will not budge, shut off the main water supply to the house instead. Once the valves are closed, open the faucet and let it run until no more water comes out. This drains residual pressure so you do not get soaked when you disconnect the supply lines.
Place a bucket under the P-trap before you do anything else. Even after you open the faucet, the trap holds roughly a cup of water that will spill the moment you loosen it.
Disconnect the Plumbing
Work from top to bottom: supply lines first, then the drain.
- Supply lines: Use an adjustable wrench to loosen the nuts where the braided supply lines connect to the shutoff valves. Then loosen the upper connections at the faucet body. Pull the lines free and set them aside—you will likely replace them with your new faucet install anyway.
- P-trap: The curved pipe under the drain is held by slip-joint nuts. Hand-loosen them; if stuck, use channel-lock pliers with light pressure. Pull the trap down and empty it into your bucket.
- Drain stopper linkage: If your faucet has a pop-up drain, there is a pivot rod running through the drainpipe. Squeeze the clip and slide the pivot rod out before pulling the tailpiece down.
Once the plumbing is disconnected, stuff a rag into the open drain stub-out in the wall to block sewer gases while you work.
Remove the Old Vanity
Most vanities are attached to the wall with screws driven into studs, and the base may also be silicone-caulked to the floor. Start by cutting the caulk bead along the wall and floor with a utility knife. Score it slowly so you do not gouge the drywall or tile.
Open the cabinet doors and look inside along the back wall and inside corners for mounting screws. Remove them. Then wiggle the cabinet forward—it should slide away from the wall. If it resists, there is still caulk holding it. Keep scoring until it breaks free. Carry the old vanity out and dispose of it according to your local guidelines.
Inspect the wall and floor once the vanity is out. Look for water damage, mold, or soft drywall around where the supply lines and drain penetrate. Address any damage before installing the new unit—installing over a compromised wall is one of the most common and costly DIY mistakes.
How to Replace a Bathroom Vanity: Prep the Space and Set the New Cabinet
Mark the stud locations on the wall with a pencil before positioning the cabinet. Most bathroom walls have studs on 16-inch centers, but older homes vary. Use a stud finder and mark the centerline of each stud at the height where your mounting rail or back panel will land.
Slide the new vanity into position and check for level in both directions—front to back and side to side. Bathroom floors are rarely perfectly flat, which is why shims exist. Slide composite shims under the base as needed until the bubble on your level sits dead center. This matters more than it seems: an unlevel vanity causes doors to swing open or shut on their own and puts stress on the plumbing connections.
Once level, mark the wall through the mounting holes inside the cabinet. Pull the cabinet back slightly, drill pilot holes into the studs, then push the cabinet back and drive the mounting screws. Snug them until the cabinet is firm against the wall but not so tight that you pull the cabinet out of level.
Apply a thin bead of silicone caulk where the cabinet meets the wall and floor. This is a water seal, not a structural connection, so keep it neat and thin.
Install the Faucet and Drain Before Setting the Top
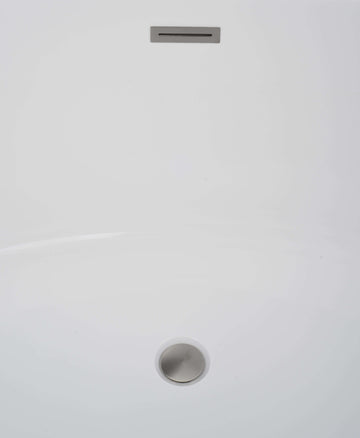
If your vanity top ships separately, install the faucet and drain assembly on the countertop before it is mounted—working from underneath is much easier on a bench than on your knees inside a cabinet.
- Thread the faucet through the deck holes and hand-tighten the mounting nuts. Use a basin wrench to snug them if the faucet body sits too far back to reach with a standard wrench.
- Apply plumber's putty or the gasket supplied with the drain to the drain flange, push it through the sink hole, and tighten the locknut from below.
- Connect the pop-up drain linkage according to the faucet manufacturer's instructions before the top goes on.
Set the top onto the cabinet. Most vanity tops use silicone along the cabinet rim to hold them down. Apply a thin bead, set the top in place, and press down firmly. Wipe away any squeeze-out immediately with a damp cloth.
Reconnect the Plumbing
With the top secured, you are ready to bring the water back. This is the reverse of the disconnect steps.
- Supply lines: Wrap the threads on the shutoff valves with two layers of Teflon tape, then hand-thread the supply line nuts. Tighten with a wrench—firm, not cranked. Overtightening cracks the valve body.
- P-trap: Slide the P-trap back onto the tailpiece and into the drain stub-out in the wall. Hand-tighten the slip-joint nuts first, then give each a quarter-turn with pliers. Do not over-tighten plastic fittings.
- Test before finishing: Remove the rag from the wall stub-out. Slowly open the shutoff valves and watch every connection for drips. Let the water run for two full minutes while you check underneath with a dry hand and dry towel. Fix any drips before closing up.
Final Touches and What to Check After 24 Hours
Once all connections pass the initial water test, run the faucet for several minutes, fill and drain the basin, and test the pop-up drain stopper. Check that hot comes from the hot side and cold from the cold.
Come back the next morning and check under the cabinet again with dry hands. New connections occasionally weep slightly as materials seat themselves. If you find any moisture, tighten the fitting a half-turn and recheck. Apply a final bead of paintable caulk between the backsplash and the wall tile for a clean, watertight finish.
When your project is done and you are ready to shop for your next upgrade, browse our full range of mirrors and accessories to complete the look.
Do I need a permit to replace a bathroom vanity?
In most US jurisdictions, a like-for-like vanity replacement that does not move any plumbing does not require a permit. If you are relocating the drain or supply lines, check with your local building department first. Requirements vary by city and county.
What if the shutoff valves under my sink are stuck or leaking?
If the shutoff valves will not close or drip when you try to close them, shut off the main supply to the house. This is a sign the valves are old and should be replaced while you have everything apart. Compression-style shutoff valves are inexpensive and straightforward to swap out with the main water off.
Can I replace a vanity if the new one is a different size than the old one?
Yes, with some planning. A narrower vanity leaves gaps at the wall that need patching or trim work. A wider vanity needs clearance from the toilet, door swing, and adjacent walls—allow at least 15 inches from the vanity centerline to any obstruction, and preferably 18 inches or more for comfortable use. The drain and supply rough-ins stay in place; you adjust the trap and supply lines to reach the new fixture positions.
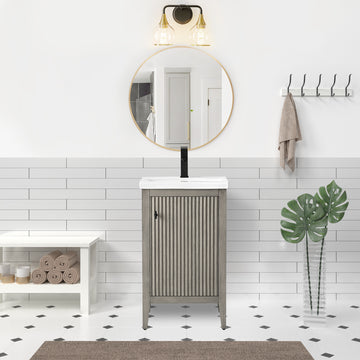
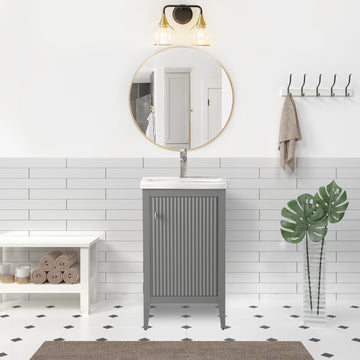
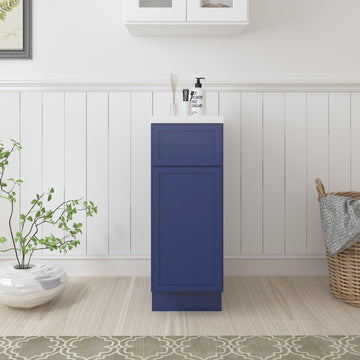
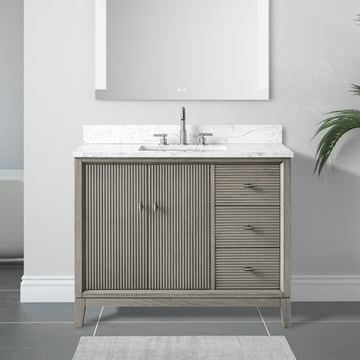
Ready to start your project? Browse our full selection of vanities, including single sink vanities, double sink vanities, and floating vanities, to find the right fit for your bathroom.